



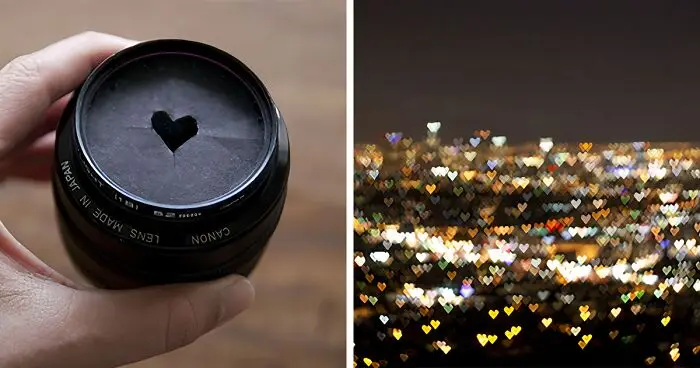


One may buy the most expensive photography gear, yet one can't buy an eye for a good photo. Just like with any creative skill, imagination and a creative approach are key. However, while quality equipment certainly wouldn't hurt, it's really about knowing how to utilize the tools and functions already available in your hands. Some of the best photography hacks do exactly that: they teach you to use tools already available or easily accessible to achieve your best photo result.
Ironically, among the many great photography hacks are tips and tricks you may already know about. Perhaps you just forgot, or it's something so basic that it simply never crossed your mind. However, plenty of photography tips can also be new, depending on how long you've been in the field. Whether you are looking for photography tips for beginners or want to hone your skills, you're likely to leave this article with your creative juices flowing overboard and new ideas popping up!
Below, we've compiled a list of awesome photography tips and tricks that are easy and simple to implement. And besides that, won't make a dent in one's wallet! Have you ever used any of the basic photography tips we mentioned? Also, do you know of any more handy tips you would like to share with fellow shutterbugs? Is there a camera hack that took your photography to the next level? Let us know in the comments!
#61 Check On The Lighting Source And Where It's Coming From
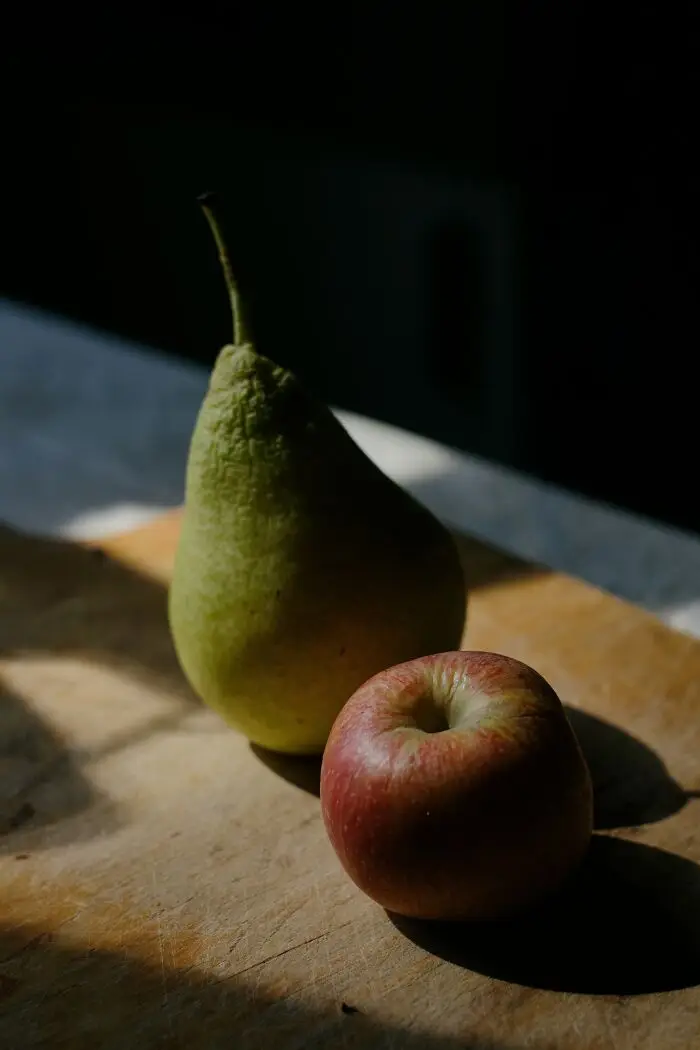
It's incredible how simple it is to take excellent pictures if you know just consider the following: if you are taking a shot of someone outside and the sun is right behind them, the subject will appear like a shadow (which could also work to make a silhouette photo). All you have to do is move them to face the sun, and they will be well-illuminated. However, avoid direct sunlight if you don't want your subject to squint or have over-exposed areas in your photos!
unknown
Report10points
#62 Have Your Subject Tilt Their Head To Prevent Red Eyes
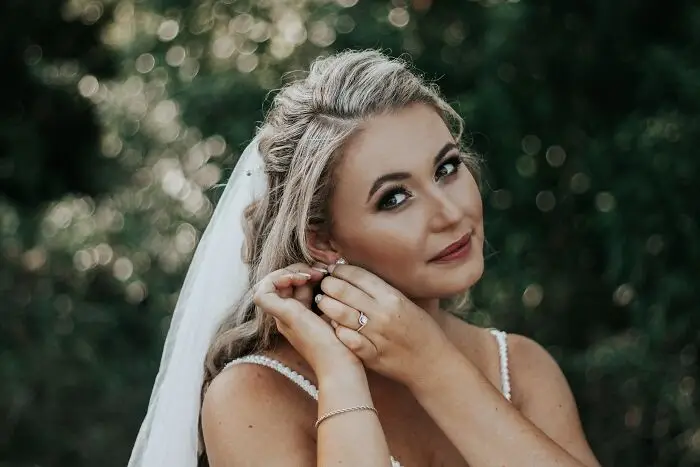
If red eye consistently ruins your pictures, give this a try: when using the flash, have your subject look slightly above the camera.
unknown
Report10points
#63 Switch The Automatic Flash Off
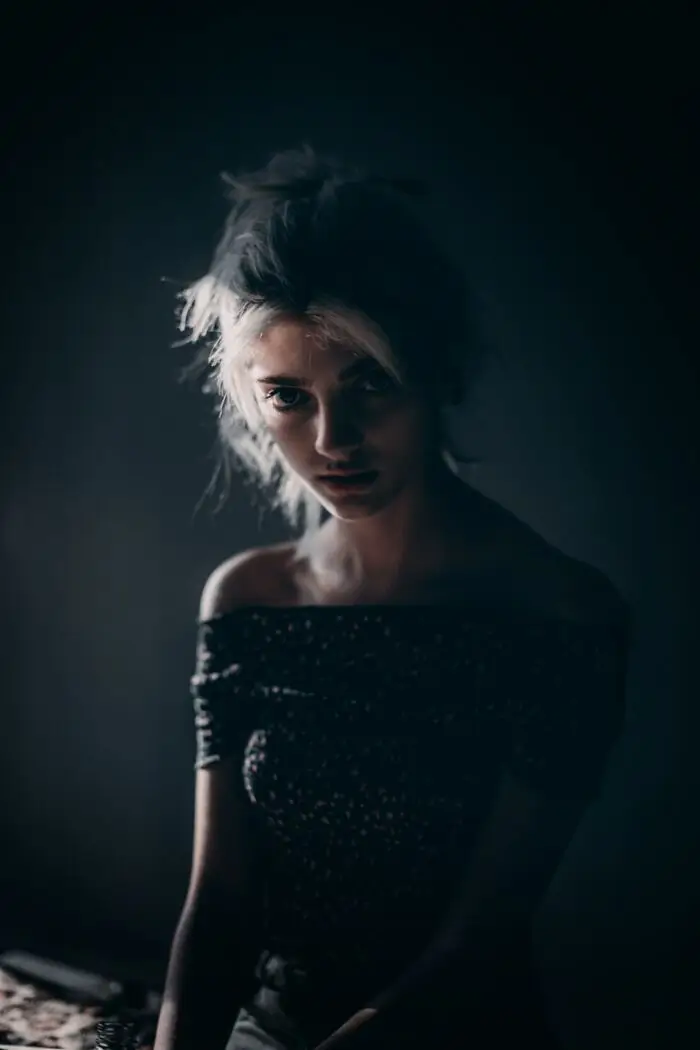
You may have noticed that both DSLR and phone cameras’ flash pops up as soon as it gets slightly darker, despite not always being needed nor desired. While flash photography works great in dim and poorly lit environments, taking photos with a flash actually requires some knowledge to make it work. However, in everyday scenarios or basic photoshoots, no flash should work just fine. If the area you are taking photos in is relatively dim, switch off the flash and raise the ISO instead. Increasing your ISO will make your camera’s shutter speed faster in all modes other than Manual and Shutter Priority, giving you a better chance of capturing moving subjects. Now take the picture.
unknown
Report9points
#64 Plain Background Is The Best Background

Honestly, simple photos that allow for the subject to breathe make for the most incredible images. So go ahead and find the plainest background you can. For the spectator, the experience of looking at a busy vs. simple photo is the same as the difference between stepping into a super-cluttered home or a clean, minimalist setting with few distractions. Take the extra time to look around and pick a simple background that doesn’t draw attention away from the subject if you shoot an image of a person.
unknown
Report9points
#65 Apply The Rule Of Thirds
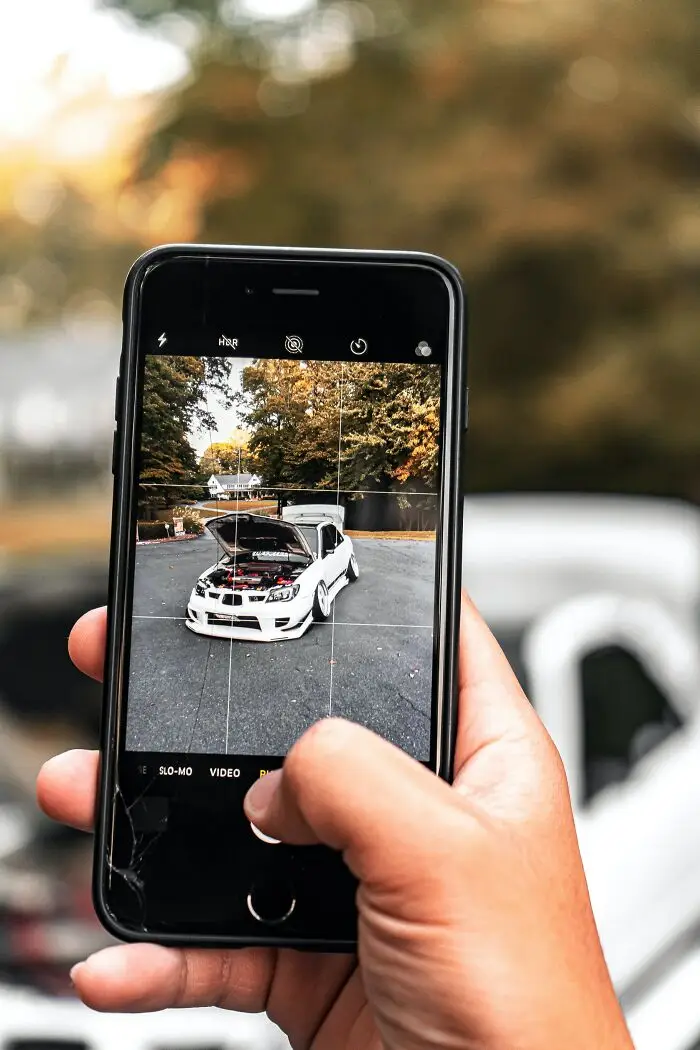
The easiest and least-used tip in the photographer's handbook is arguably the rule of thirds. How to utilize it? Go into your camera's menu and select "Grid," which will display a grid with horizontal and vertical lines as you look through the viewfinder. With the help of the grid, place your subject in the left or right third of an image, leaving the other two-thirds open. Although there are different types of composition, using the rule of thirds usually results in interesting and well-composed photos. Most amateur photographers center their subjects in the center of the frame. Good try but BO-RING!
unknown
Report9points
#66 Use Your iPhone Headphones As A Shutter Button

Family photos are difficult to take. Unless you don't mind running back and forth to set the timer off, have a remote shutter control, or are an iPhone user. You can actually shoot pictures using the volume control on your iPhone headphones (the ones that used to come in the box). If you own an Apple watch, you can also make it function as a camera remote!
unknown
Report9points
#67 Cotton Pad Dolly
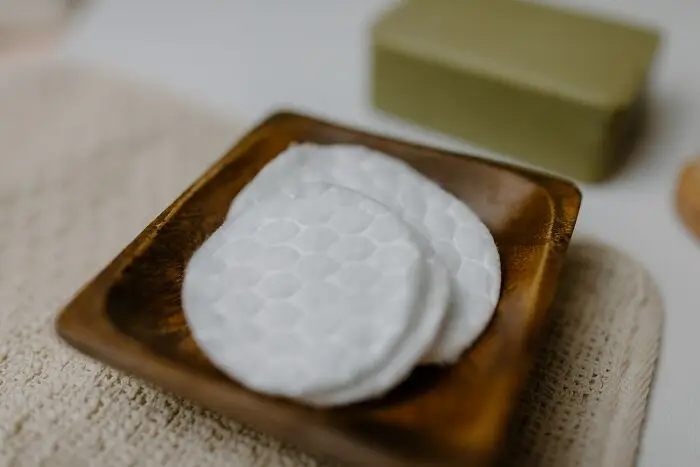
Here is another trick utilized for as long as tripods have existed. Just put some cotton or felt pads on the tripod's feet. If the flooring is smooth (a cobblestone walkway WON'T do), you can use your tripod as a dolly to create smooth panning views and time-lapse videos.
unknown
Report9points
#68 Get In Close To Your Subject
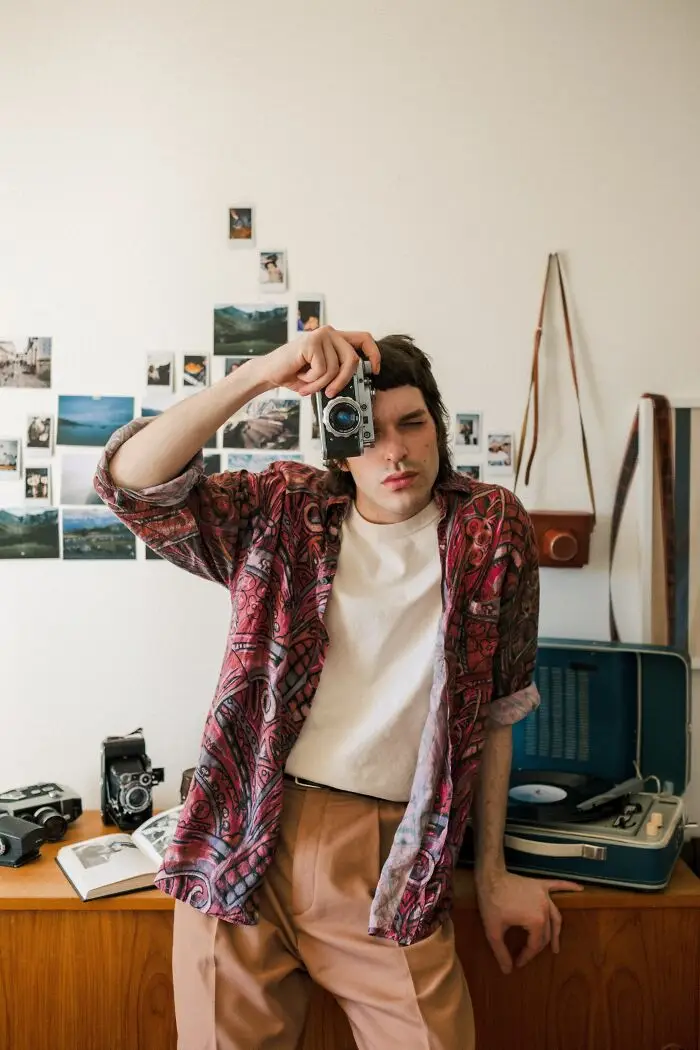
Most believe that to capture the entire scene, they must take a huge step back and leave plenty of space around the subject. One must remember that occasionally, you can cut off your subject’s forehead, legs, or lower body from the frame. They are not a mime trapped in an invisible box! The issue with always having the camera zoomed out so much is that the viewer isn’t immediately made aware of the photo’s purpose or subject. As is often said, the simpler your shot is, the better. The most compelling images make it crystal clear to the spectator what “narrative” you are trying to convey. If you are trying to convey their emotion, such as anger or sadness, use a close-up of their brows and eyes. While hands can help convey anger through clenched fists, hands may not help convey a feeling of despair.
unknown
Report8points
#69 Look For Interesting Patterns

In the introduction, we mentioned that some people simply have an eye for photography. And while some may actually be born with it (lucky folks), it's also a skill that can be acquired. Look at the structures you pass, the windows you see, the brickwork patterns, etc. One unexpected "click" may allow you to realize there is a pretty fascinating pattern in the brickwork of a building you pass through every day.
unknown
Report8points
#70 Try Different Perspectives

Most photographs that viewers see are taken at eye level from the photographer's vantage point, which is also how we perceive most of our daily experiences. We don't often view cities from that perspective, so it's not surprising that they are aesthetically magnificent when you climb to the top of a tall structure and look down on them. In food photography, this bird's-eye perspective is frequently used. Just play with it, and you might discover a hidden treasure!
unknown
Report8points
#71 Create A Flash Grid
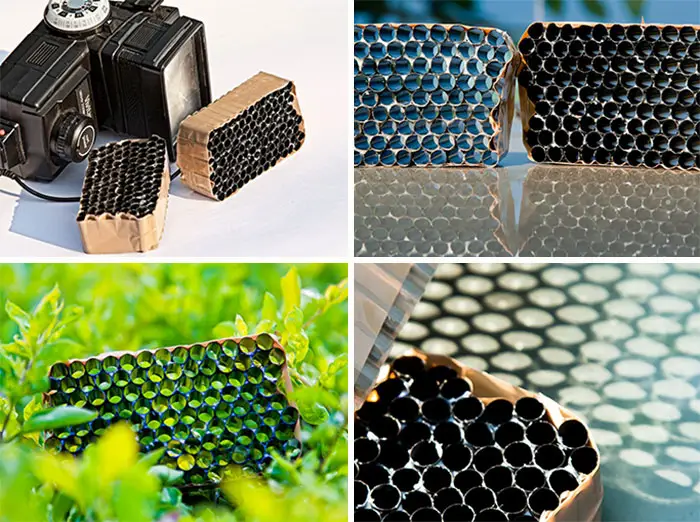
Creating a flash grid attachment to create a spotlight effect is another useful do-it-yourself photography lighting technique. A piece of straw, cardboard, and an elastic band are all you need.
Report
8points
#72 Rotate Your Camera When Taking A Mirrored Photo
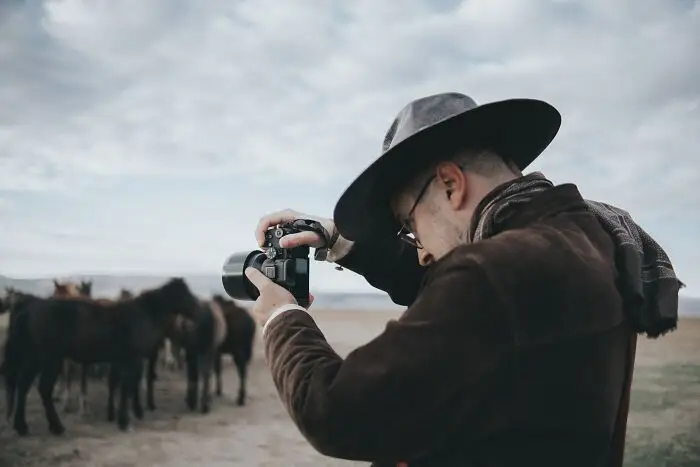
If you already have a beautiful spot to snap a mirror image, turn the camera 90 degrees to add even more points of interest.
unknown
Report8points
#73 Use Welding Glass To Make Your Own ND Filter
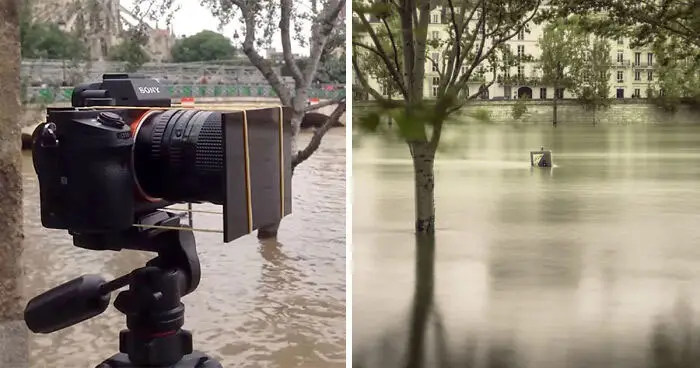
Make your own neutral density (ND) filter using welding glass that you can find at any hardware shop rather than paying for a pricey ND filter from a camera shop. Utilize this technique to produce black and white long exposure photos.
unknown
Report7points
#74 Capture Candid Moments

Sometimes, the unposed is actually better. Caught-in-the-moment photographs convey real moments the best. People are more likely to reflect on how they felt at the time when the picture was taken when they see a candid portrait of themselves rather than a posed one.
unknown
Report7points
#75 Use Reflective Paper For Product Photography

Using reflective paper for product photography aids in obtaining more diverse light perspectives.
unknown
Report7points
#76 Use Tin Foil To Create A Bokeh Backdrop
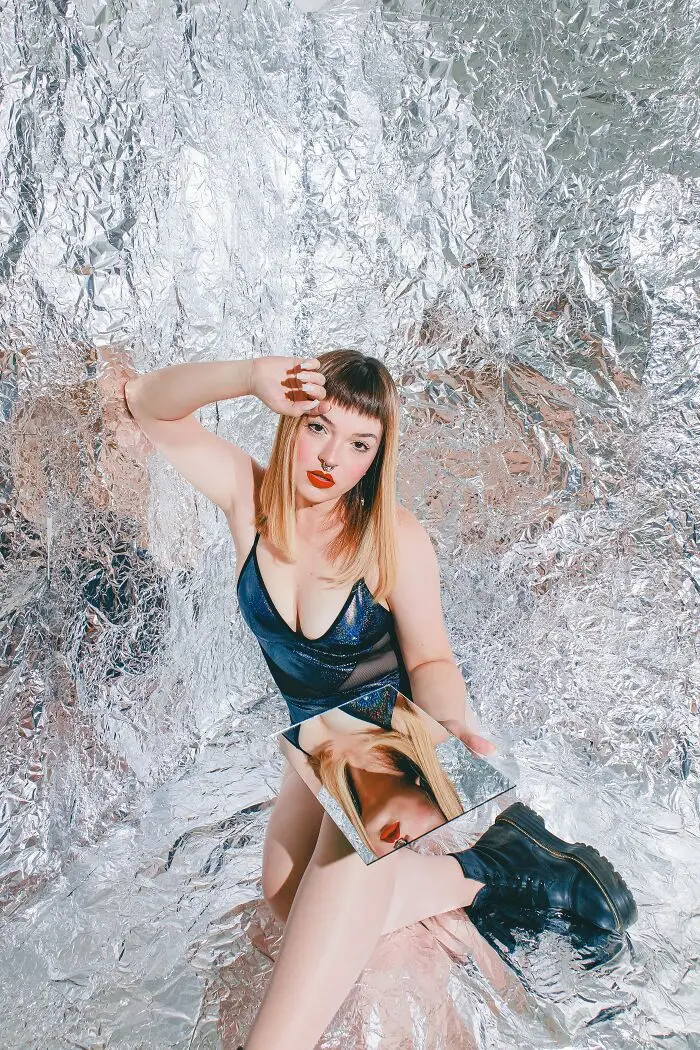
To create a captivating background, simply go to the kitchen and grab some tin foil. You could also use crumpled foil to create an interesting texture. Then, you can set it up as a background. You can change the bokeh's color by using a light source of a different hue and directing it to the background. To add even more creativity, place a mirror underneath the object to create a reflection effect.
unknown
Report6points
#77 Use Wallpaper As A Backdrop
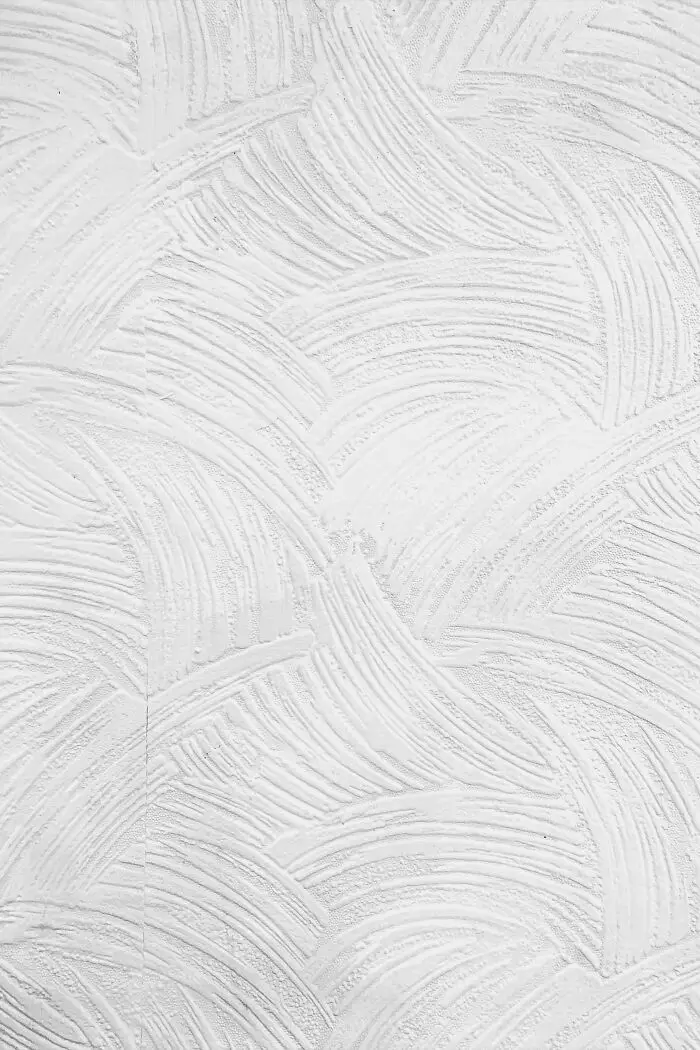
Duh! A super easy way to obtain a beautiful photo backdrop is to find a wall with cool paper or an interesting pattern and just start taking pictures!
unknown
Report6points
#78 Use A Towel To Create A DIY Slider
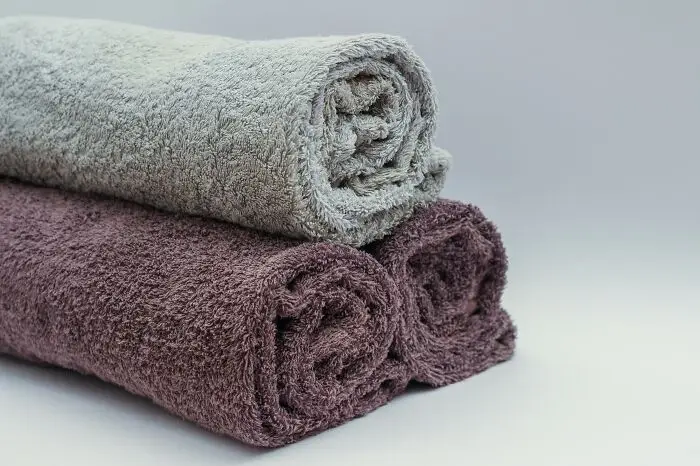
You can get a smooth slide in any video using just a towel or an old rag. Simply place your camera on the towel after putting it on a flat surface. Then, after you begin filming, drag the towel across the surface for a simple, inexpensive DIY slider.
unknown
Report6points
#79 Spray Plexiglass Or Glass With Water To Coat It In Drops To Give Your Photograph The Appearance Of A Wet Window
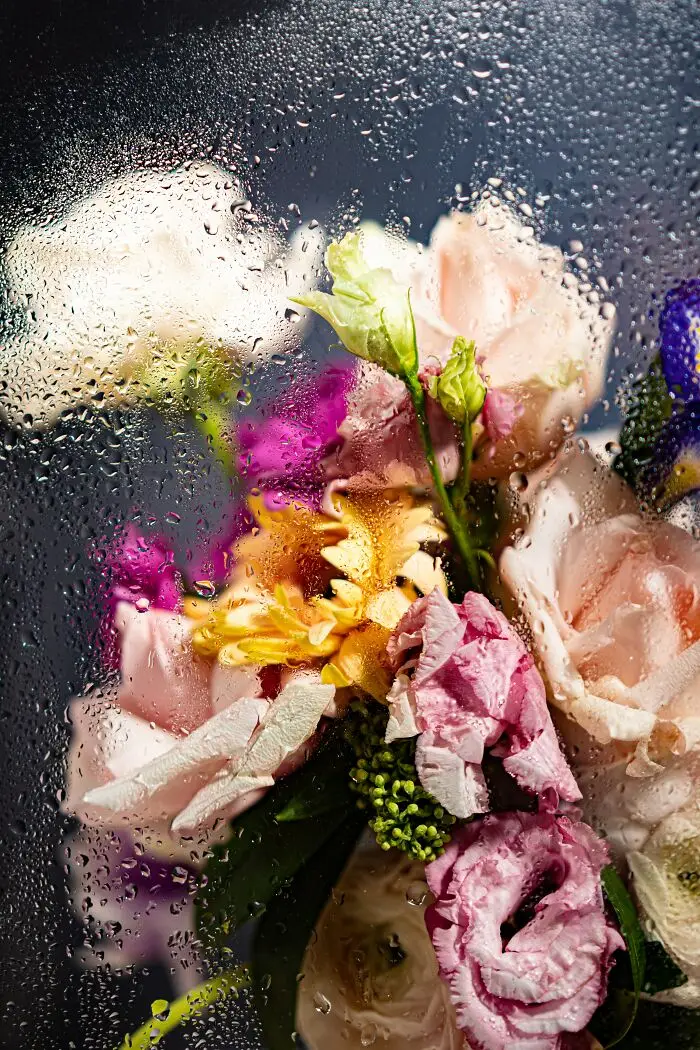
Then take a photo through the glass. Voila! Who would even catch on that it was a sunny day outside when you took the photo?
unknown
Report6points
#80 Max Out The Aperture
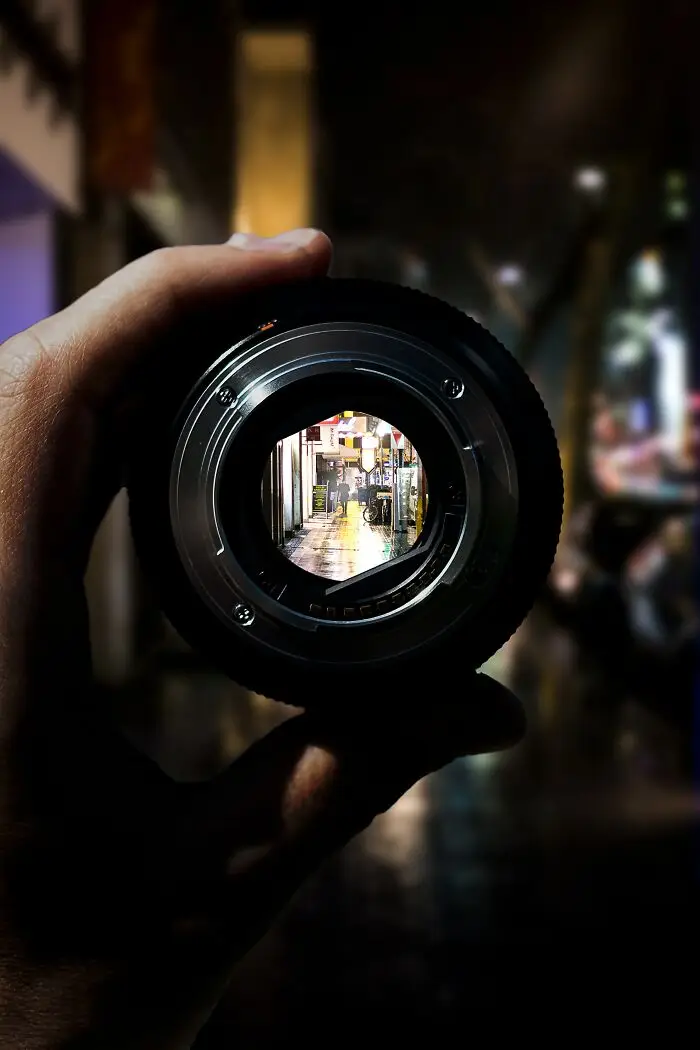
Most people consider the most artistic shots as those that use a big aperture expressed as an f-number to blur the backdrop to draw more attention to a subject. However, your aperture will probably only drop to f/3.5 if you use a kit lens, which isn’t a very large aperture. However, the effects may be just as stunning as done with a macro lens.
unknown
Report5points
