

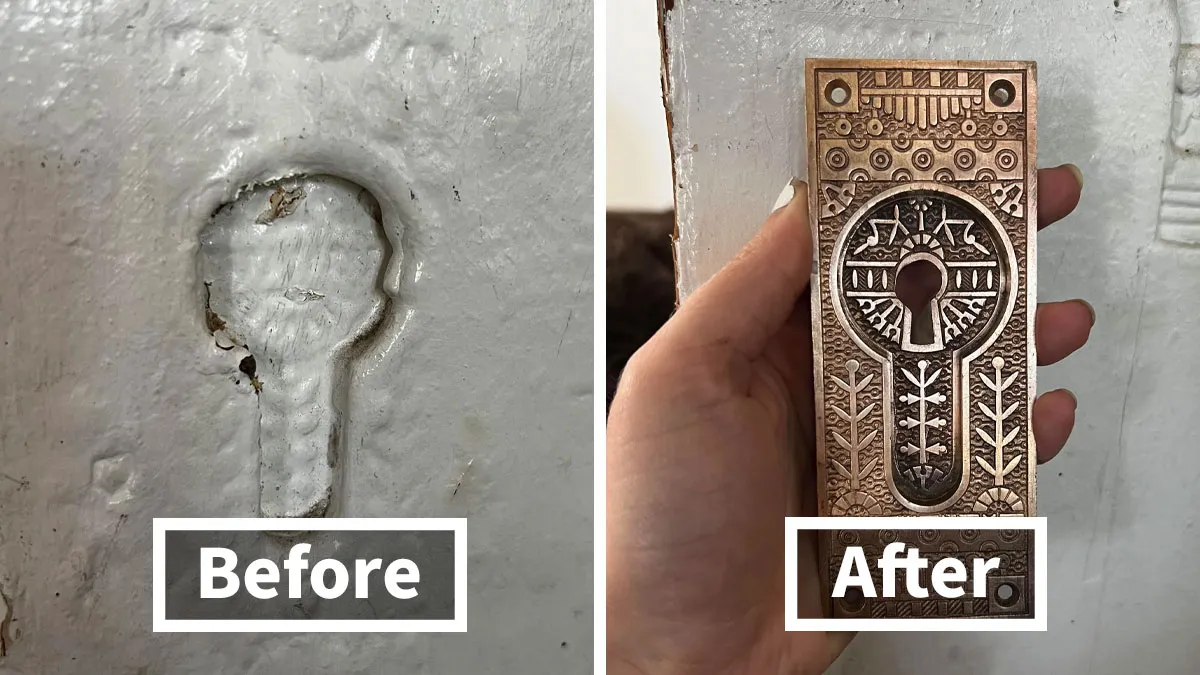



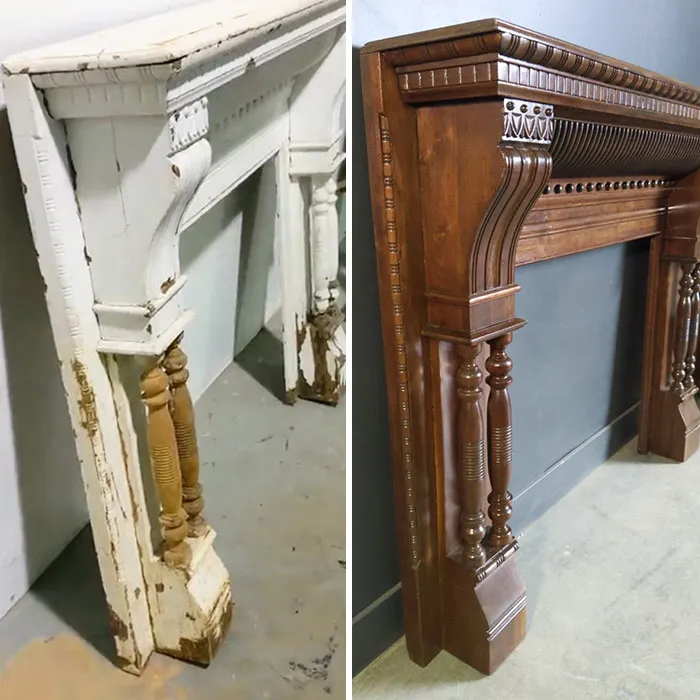
It's also important to mention that older pieces of furniture often have a thin layer of good-quality wood on their surface called veneer. Over time, it gets loose, breaks or cracks. This issue can be solved by adding wood glue and sealing it by putting something weighty on it. If anny bubbles arise, try putting a cloth on top of it and heating the veneer with an iron. When that doesn’t help, inject some wood glue using a disposable syringe and weight it down to dry. In more extreme cases, it might be necessary to replace the veneer with a new one by cutting it and gluing it down.
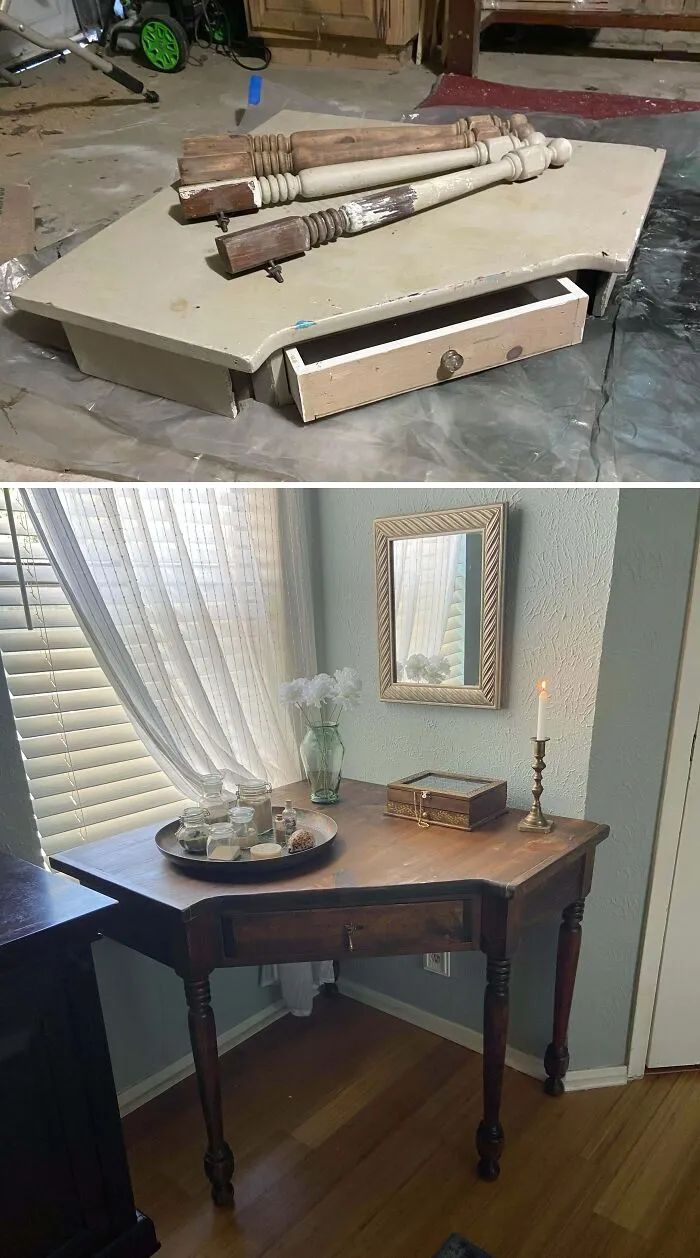
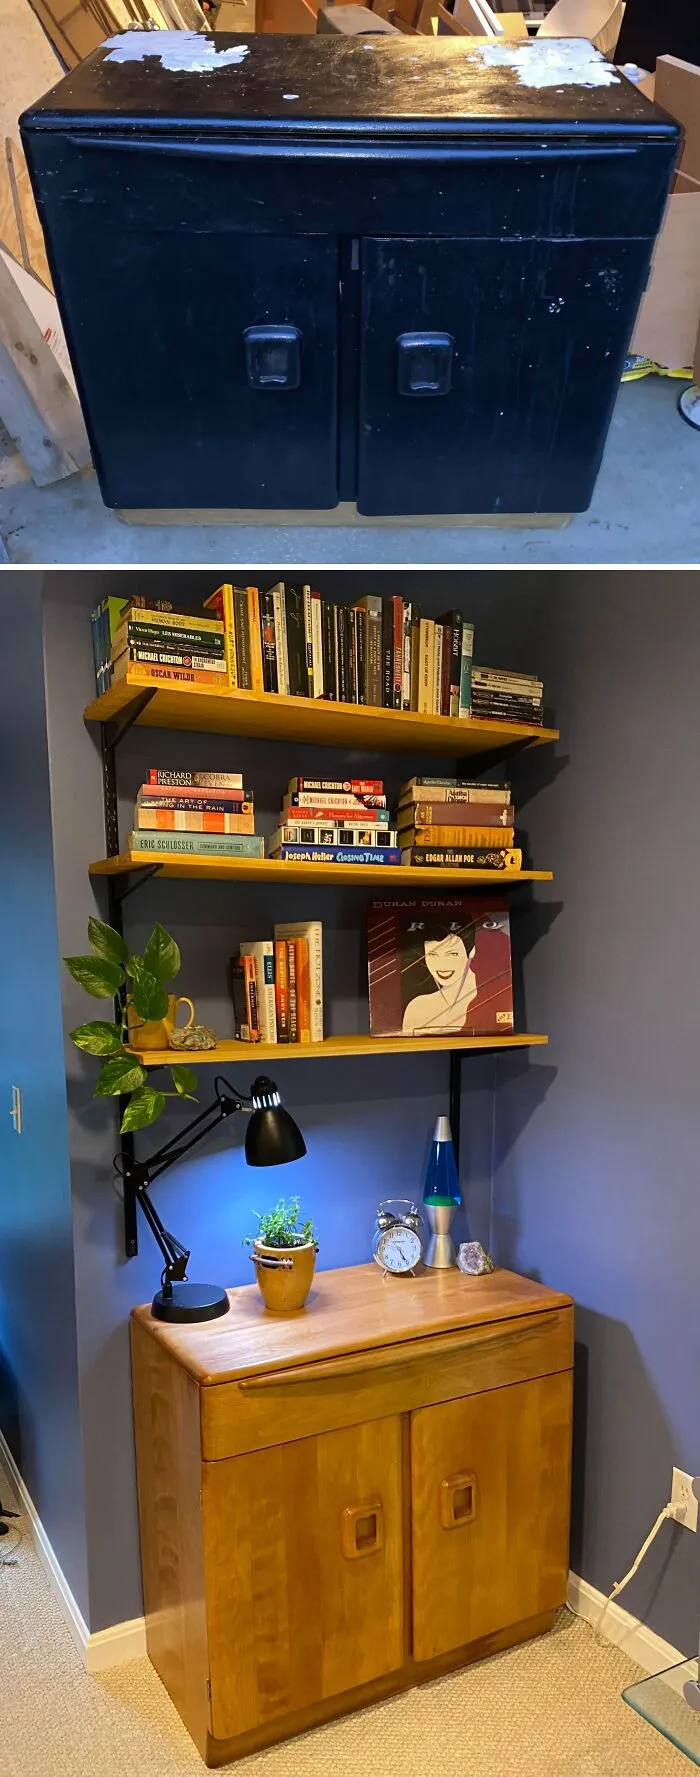
#22 Hi! New Here. I Recently Found This Corner Table In The Trash And Stripped Three Coats Of Ugly Paint Off Of It And Stained It
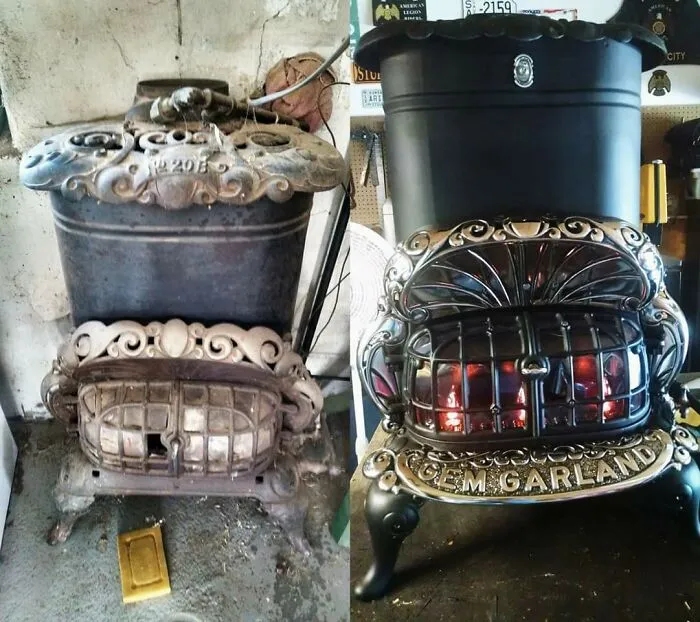
#24 Restored My Grandparents Gas Parlor Stove. Not Back To Original Condition, The Firebox.and Burners Were In Really Bad Shape So I Installed Electric Flame Flicker Bulbs
Before applying a new finish to the piece, the surface has to be sanded. When that’s done, remove any sawdust and be mindful of the thin veneer, as it can be damaged quickly. Then, a finish of your choice can be applied. Natural-looking options include stains, shellac, waxes and polishes. “Shellac, a natural raw material obtained from the excretions of lac insects, is often used in antique furniture restoration,” explains Bosch.
#25 DIY Barbie House Made From Old Dresser
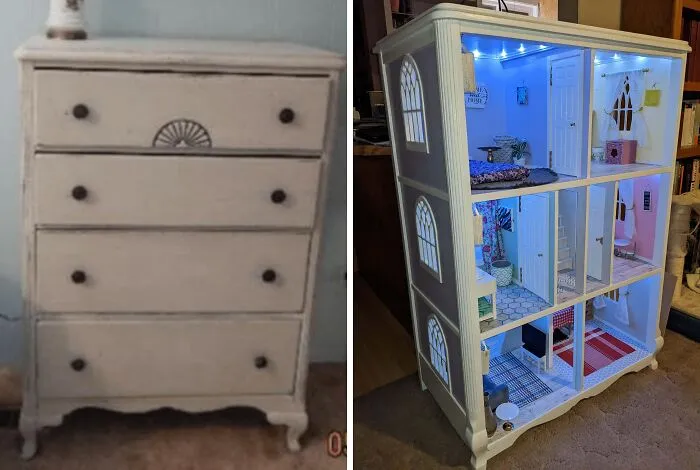
I already had basically all the woodworking tools I used for this project, but this was my first big project with them. It was definitely trial and error to figure things out, so there were lots of mistakes made along the way.
Almost all of the furnishings and decor was made from thrifted odds and ends or bits of plywood and dowels. A few things were purchased at Dollar Tree or on clearance at various craft stores. My amazing mom sewed the table cloth, bedding, curtains, shower curtain, and towels. Most of the flooring is stick-on wall paper/decals from Dollar Tree. Kitchen flooring is shelf liner I already had (I think from Target). The "rugs" are placemats that I thrifted or bought at Dollar Tree.
If anyone has questions about where other items came from or how things were made, I'm happy to provide lots more detail.
(Side note: see my post history for kitchen cabinets that were later added... Sorry I don't have any photos of them in the house.)
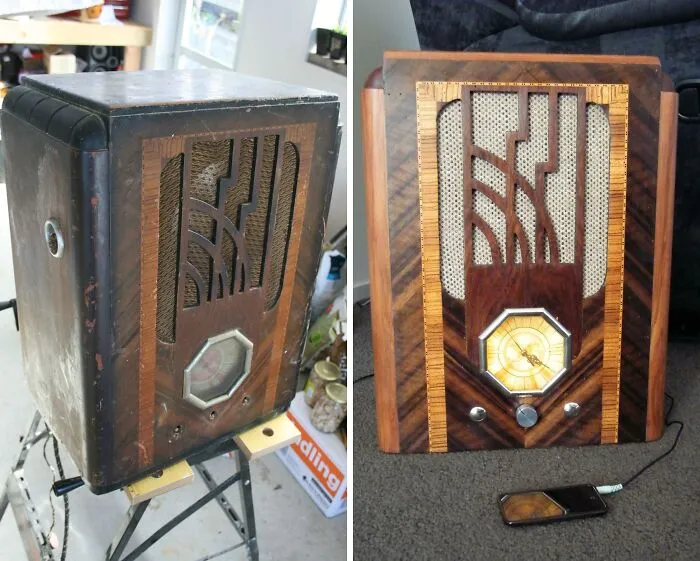
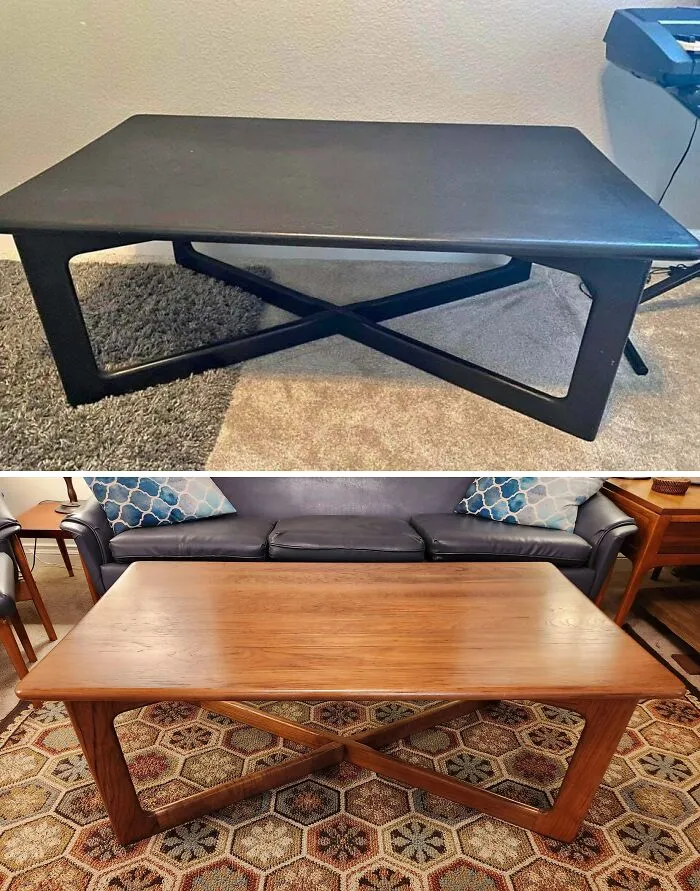
#27 I Didn’t Even Want It, But I Had To Get That Paint Off When I Saw It At Goodwill
If prior to everything the furniture piece was covered in paint, it can be removed with stripping chemicals or stripping and heating tools. It takes a lot more time and work, but the result is sure rewarding and satisfying! For more articles on restoration, make sure to check out these amazing restored cars and pictures.
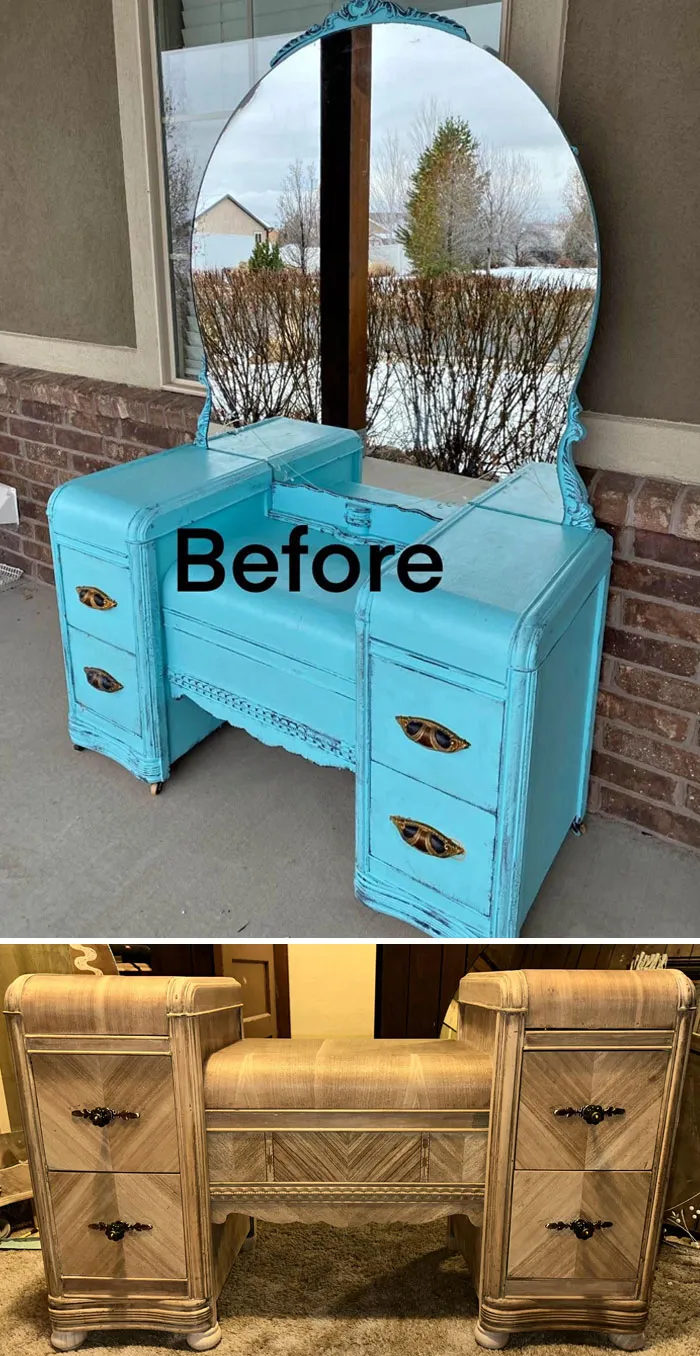
#29 1943 Waterfall Vanity Restore
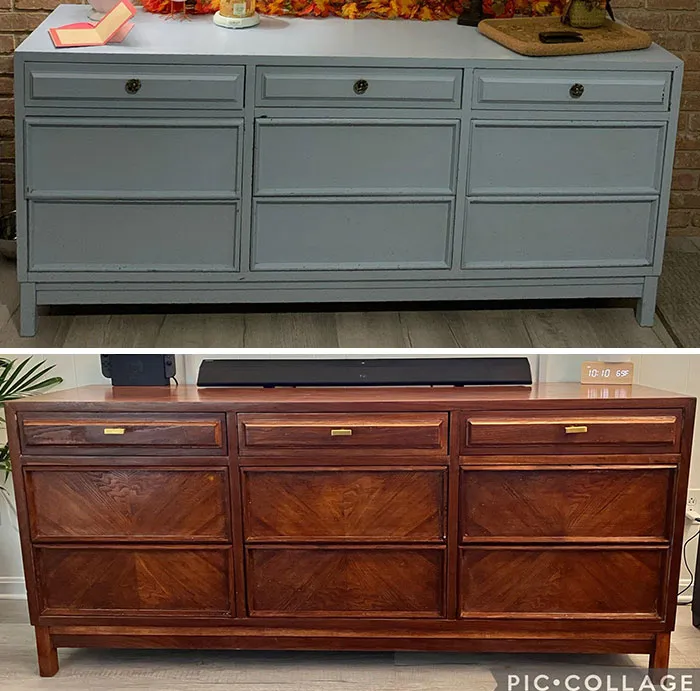
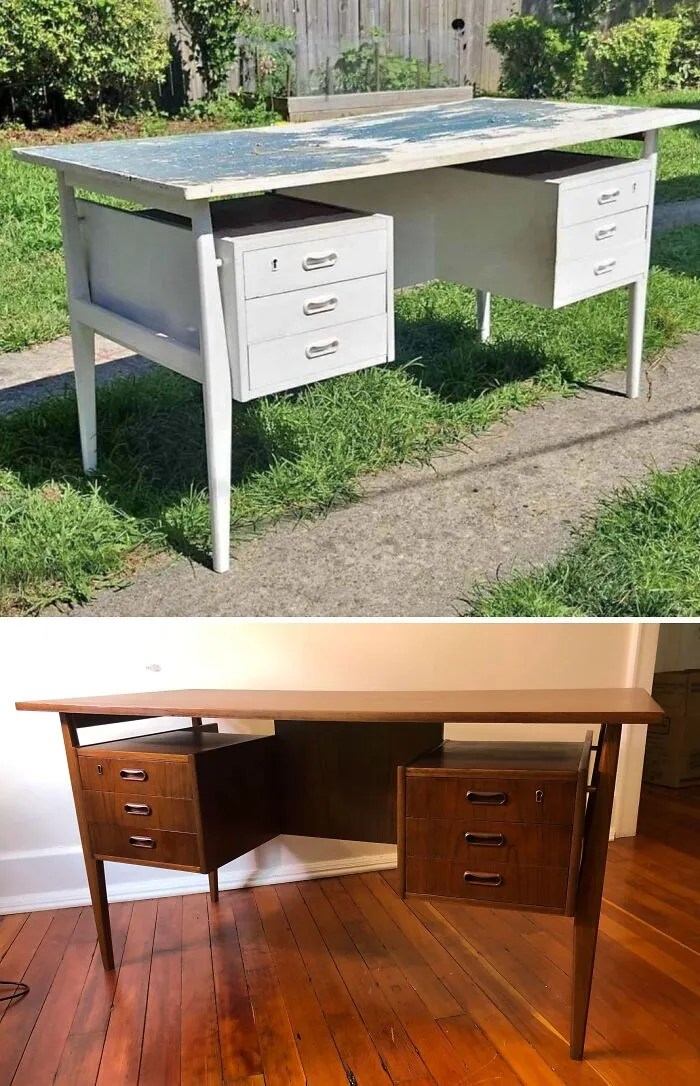
#31 I Put Two Months Of My Time On Weekends And After Work To Remove The Awful Paint From This Gorgeous Danish Teak Desk With Floating Legs!
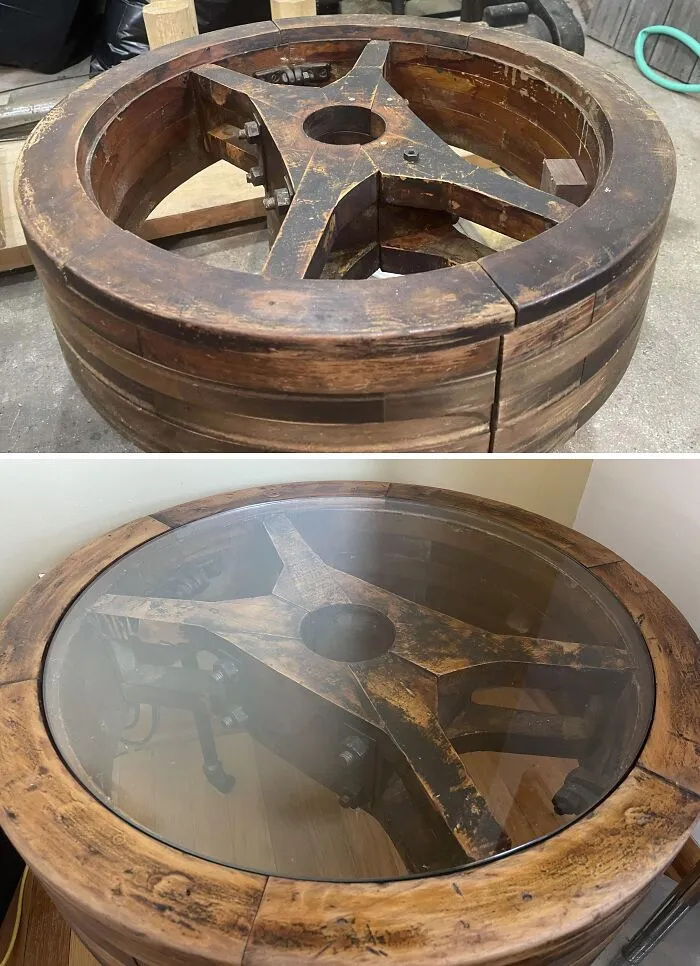
#32 Repurposed 100-Year-Old Flywheel
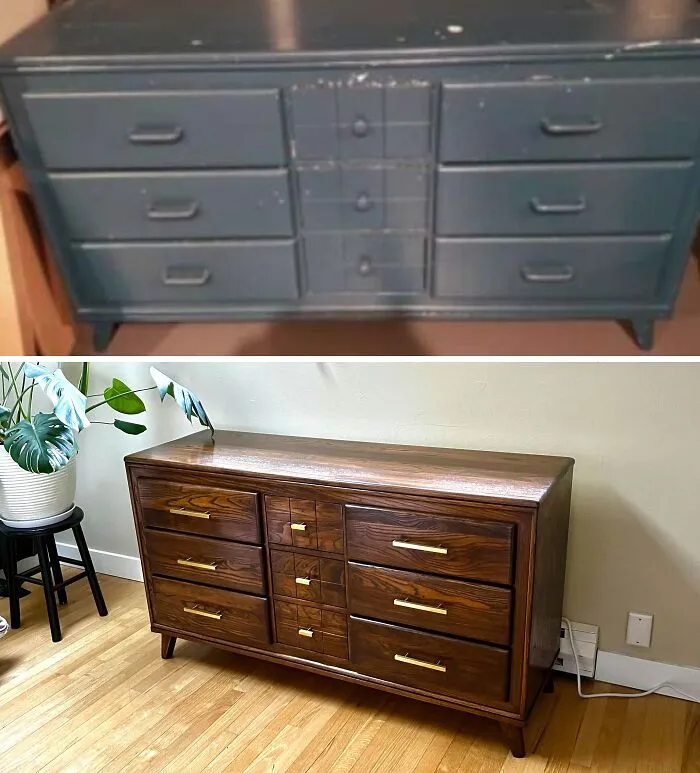
#33 $75 Craigslist Find. Ended Up Getting It For Free After He Saw We Were Expecting. First Time Refinishing Something!! Pleased With How It Came Out
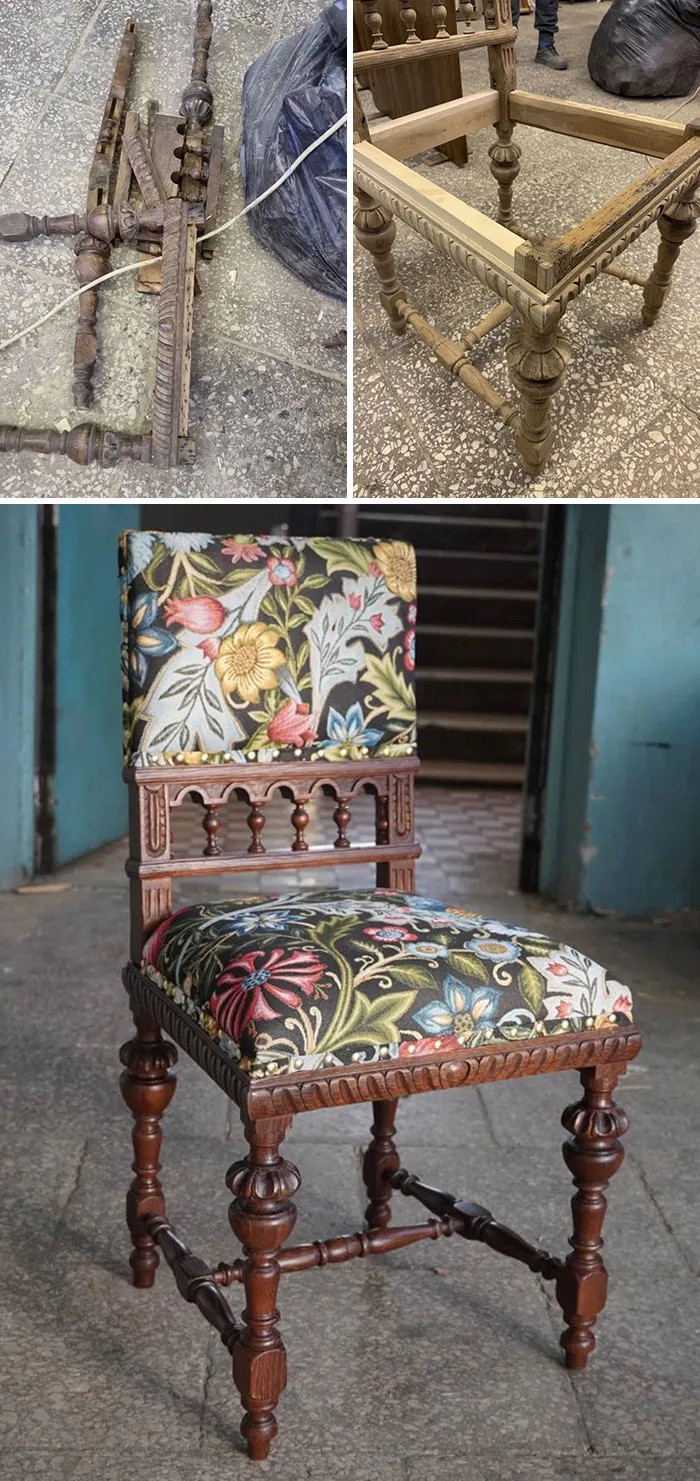
#34 The 19th Century Chair Was Delivered In A Deplorable State
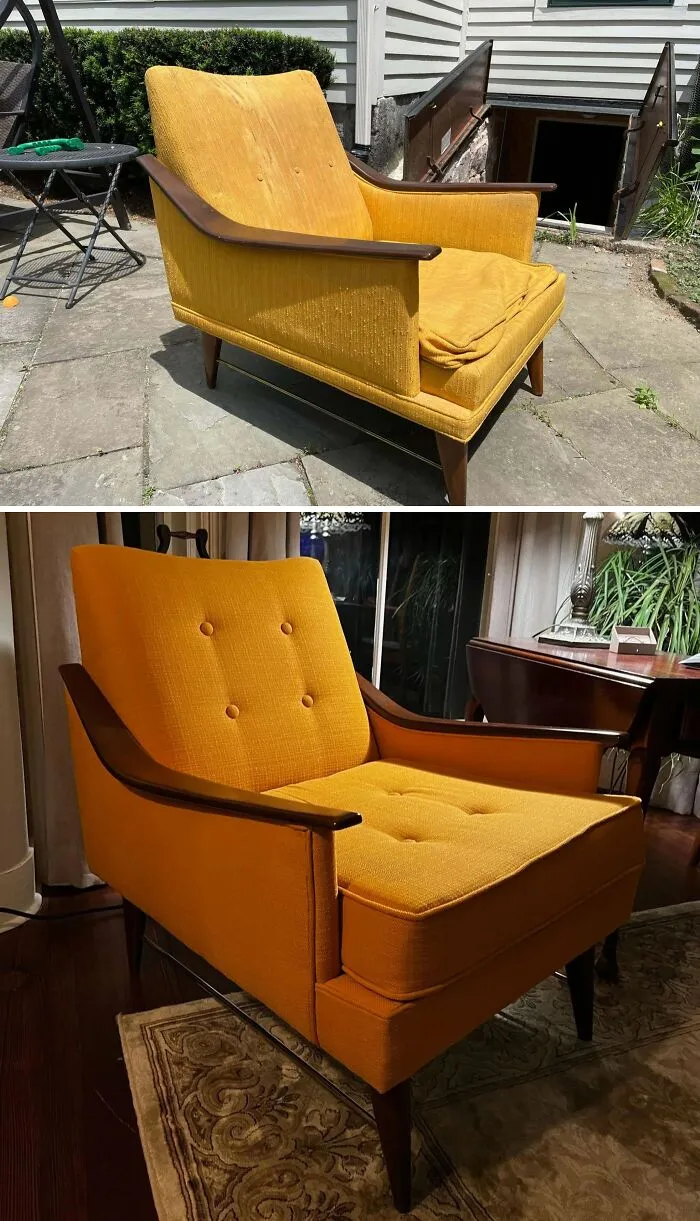
#36 Restored This Beauty Back To Its Glory. It’s Now A Staple In Our House
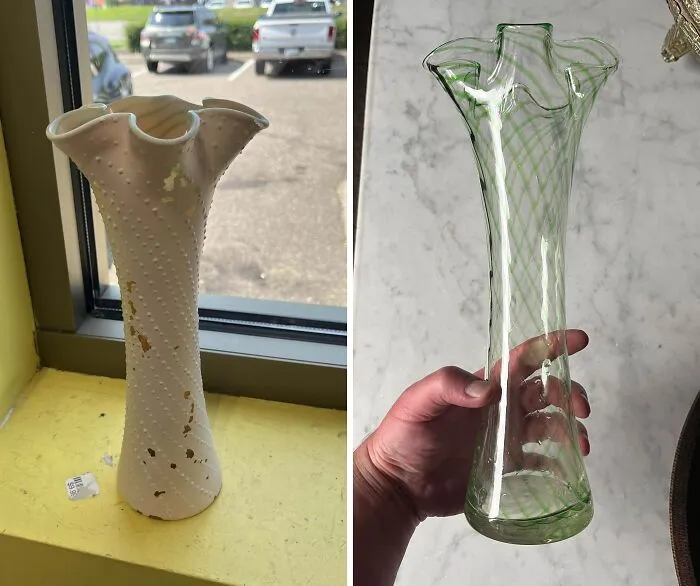
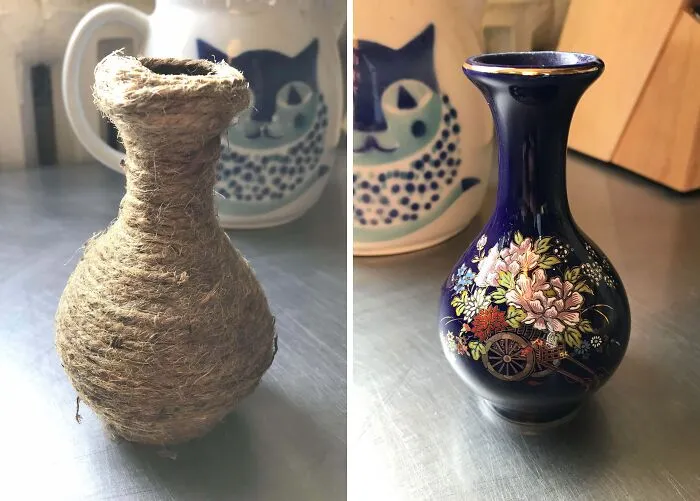
#37 Goodwill Rescue Of The Week. Saw Some Cobalt On The Bottom Of This Bud Vase. Got The Twine And Hot Glue Off Only To Find That It Had Three Layers Of Paint On It (Black, Gold, And Red). Some Soaking In Boiling Water And Some Very Satisfying Paint Peels Gave Me This
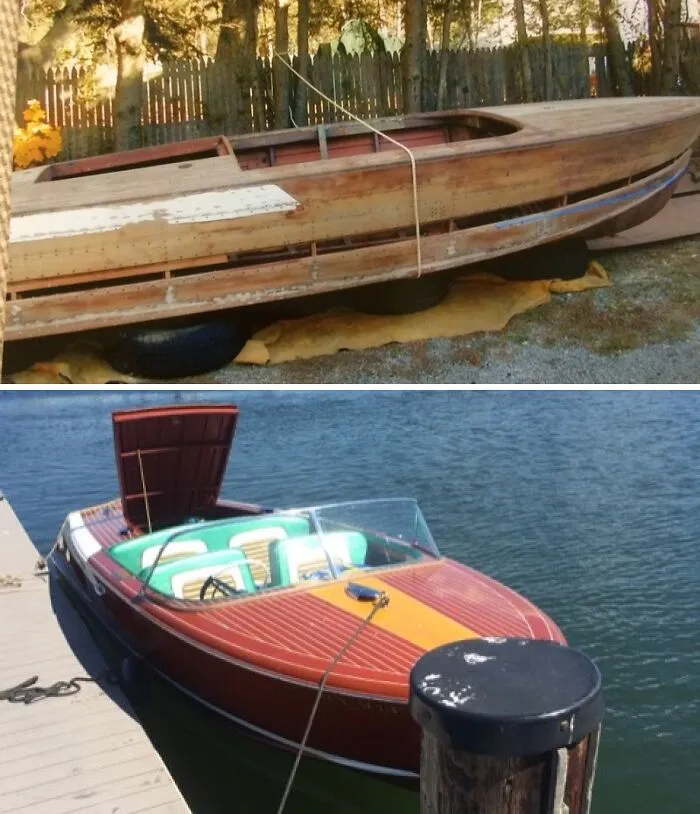
#38 My Father's Eight Year Restoration Of A '61 Chris Craft Capri
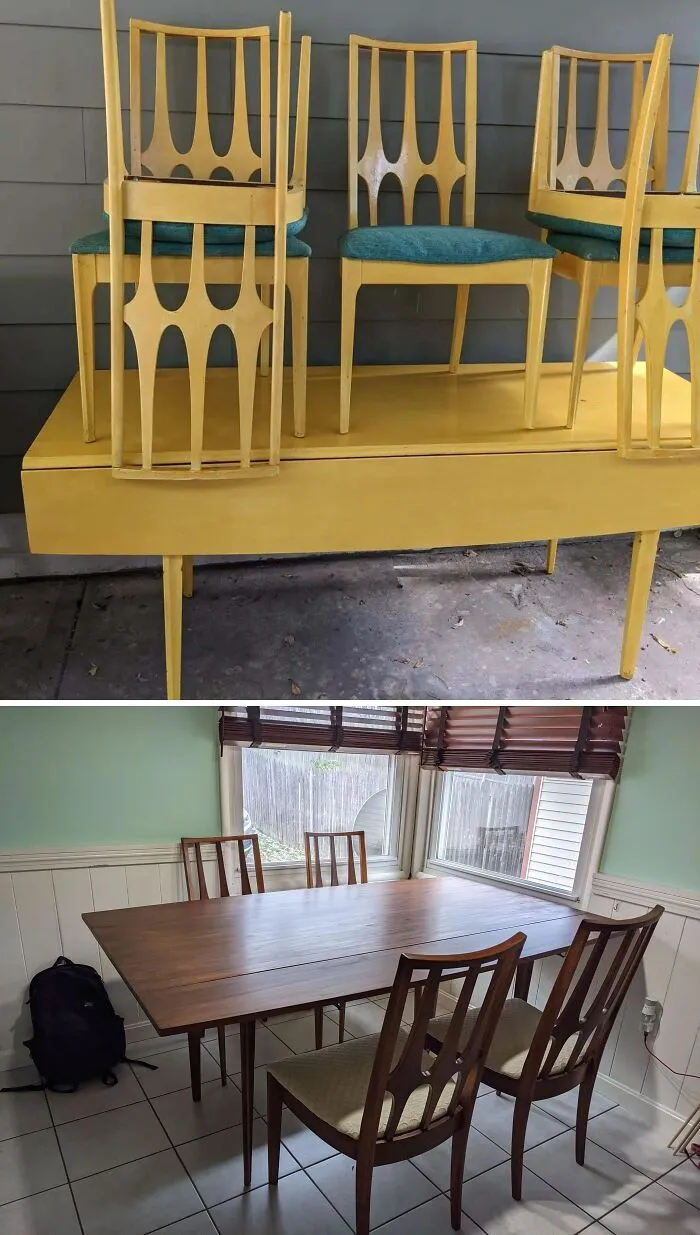
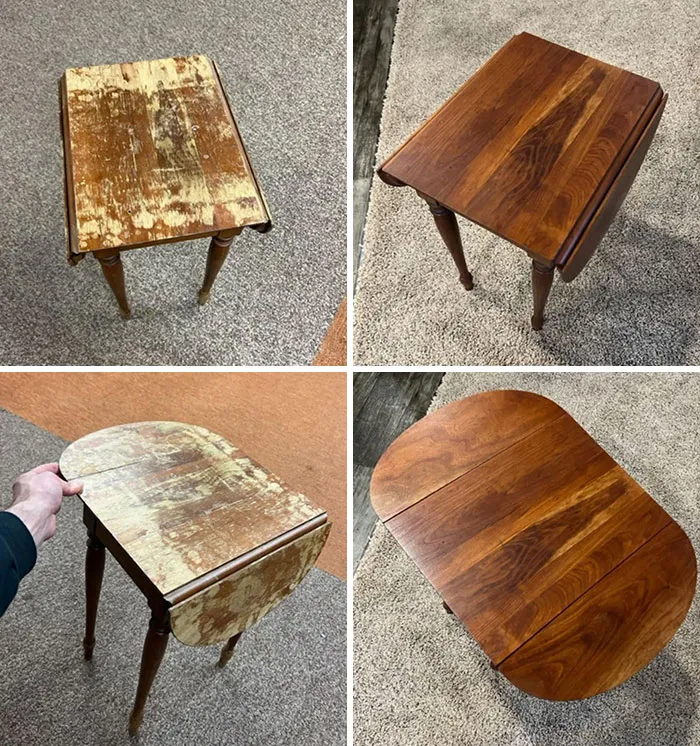
#40 Cherrywood Dropleaf End Table Restoration