







Of course, you can throw away your celery butts. But you can also use them to grow a new batch. Fresh and healthy food isn't reserved for those whose wallets can withstand a trip to the grocery store's organic section — anyone with a container and a few sun rays can grow something they can eat or admire later on. Even replacing as little as one or two items on your plate with those you've nurtured yourself can add so much more fun and flavor to your world. Below are some of the ways you can start. Bon appétit!
#21 Fennel
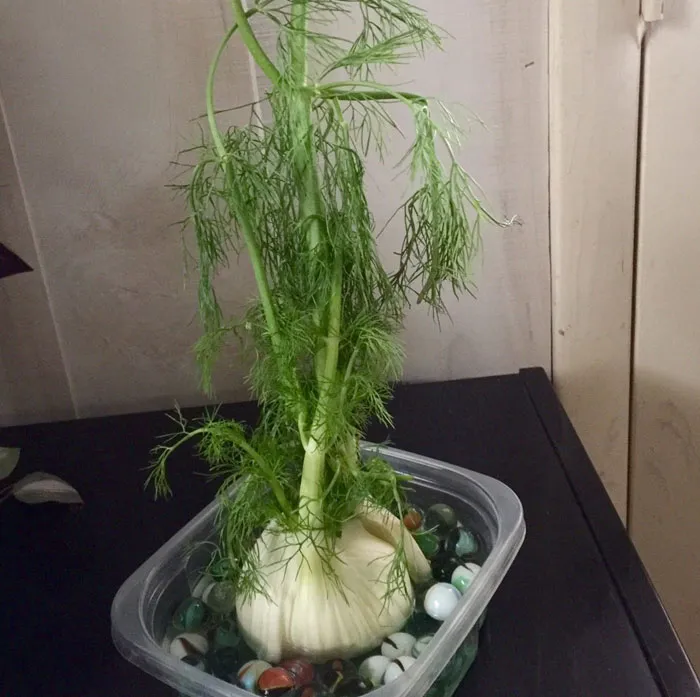
Simply place a stem of around 10cm/ 4 inches long into a glass of water, making sure that the leaves are well above the water level. Roots will soon begin to grow and as soon as the roots are growing well, these cuttings can be transplanted into containers, or directly into your garden
Report
24points
#22 Ginger
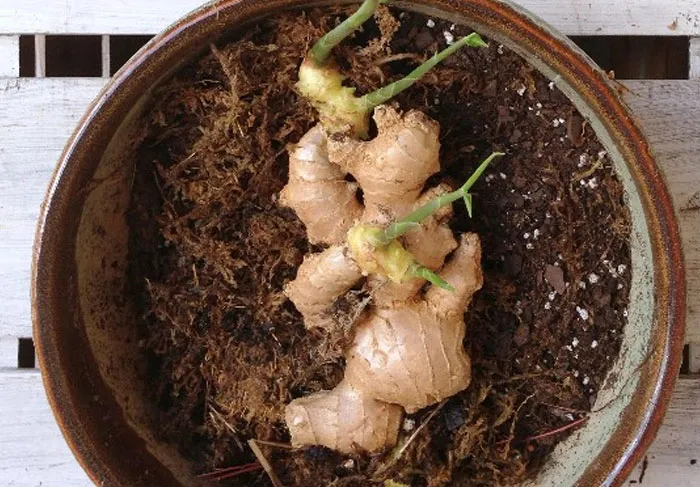
How to Grow your Own Ginger
1. Select a Healthy Root. The best roots (rhizomes) for growing are firm, fleshy and already have green points forming at the end of the 'fingers.' If you prefer, cut the ginger into separate pieces with at least one green tip per segment and allow to dry for a few days.
2. Soak the Roots Overnight in warm water. This will stimulate growth and rinse off any chemicals that might be present. A few of my friends have also had a lot of success soaking their various root crops in compost tea, believe it or not!
3. Set the Roots in Sphagnum Moss (or coconut fiber) so that the top of the root is visible, with the green growing tips pointing up. I used a propagating tray, but you can use any container wide enough to accommodate the root. Keep the sphagnum moss lightly moist, but allow it to dry out between waterings.
4. Transplant to a Pot once the first leaves have formed. At this point you should notice a mass of fleshy white roots, which can be gently teased loose from the moss. Hold the root just beneath the edge of the pot, and fill the pot with fresh potting mix so that the fine roots are surrounded and the top of the rhizome is barely visible.
5. Caring for Your Ginger is easy, as long as you provide warmth, humidity, moisture and drainage. Summer is the best time to grow ginger because it's already hot and humid, but if you're growing it indoors you can place it in a bright windowsill and occasionally mist it with water. Drainage is provided by simply using a pot with drainage holes.
Report
23points
#23 Bean Sprouts
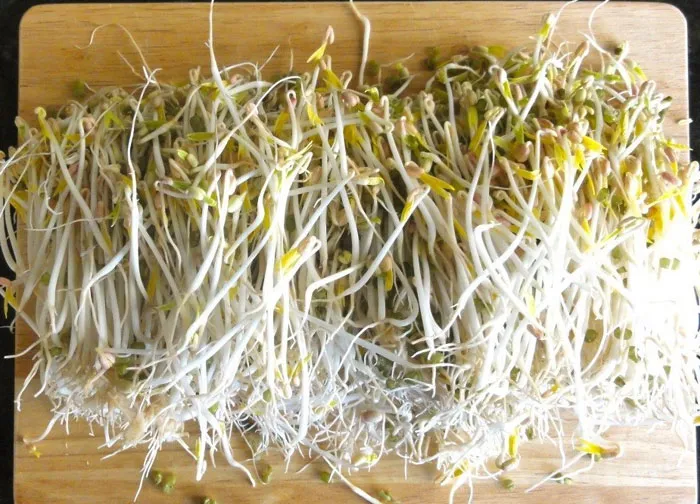
This one doesn’t take much work, but there a few steps involved. You can either chop off the bean part of the sprout or buy just the beans at your local grocery store. Soak them in a cup of water completely, mixing them around with your hand. Leave them soaked for 24 hours and the seed should start to germinate. After that, cover them in 2 paper towels, one on the bottom and one on top. Wait a few weeks and they should grow tall like grass!
Report
22points
#24 Cherries
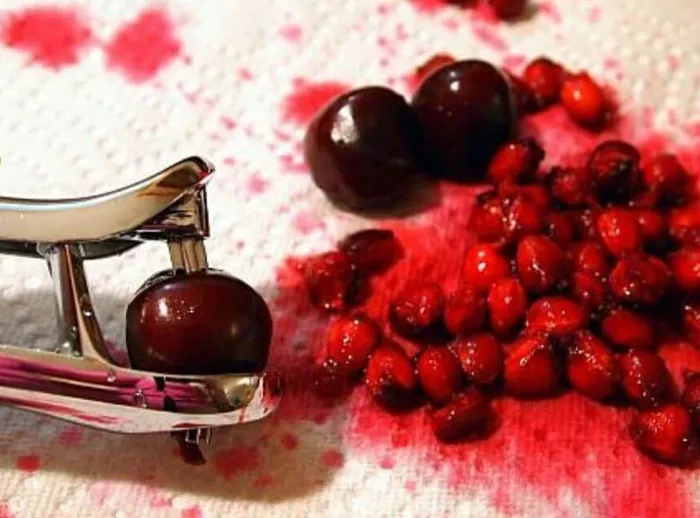
You can actually grow your own cherry tree from the pit of the cherry, although it does take some time to grow an entire tree. You will need to keep the pit in cold storage for a few weeks so that they will germinate. To do this, simply clean the pit, pack it in nutrient rich soil and store it in a lidded container in your refrigerator. Leave for about twelve weeks and then transplant outdoors
Report
22points
#25 Radishes
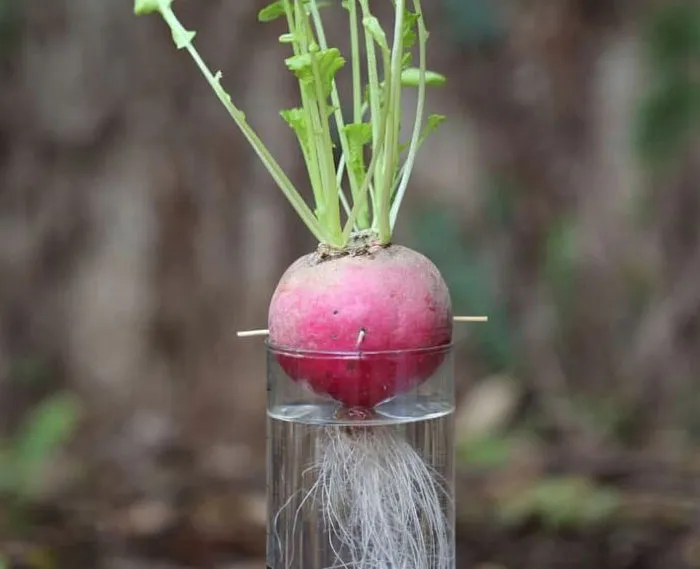
All you need for this is a glass of water, toothpicks, potting soil and some radishes. Take a radish, cut it in half, and cut off some of the green leaves on the top, but make sure to leave at least a small portion. Place the top half dangling over water by using toothpicks to suspend it in air over the glass. Just make sure that it’s not completely submerged. In a few weeks you’ll notice that roots are starting to grow out from the bottom. From there you can transplant it to a pot of soil if desired. It’s a really easy process. If it doesn’t work, try using the bottom half instead.
Report
20points
#26 Turnips
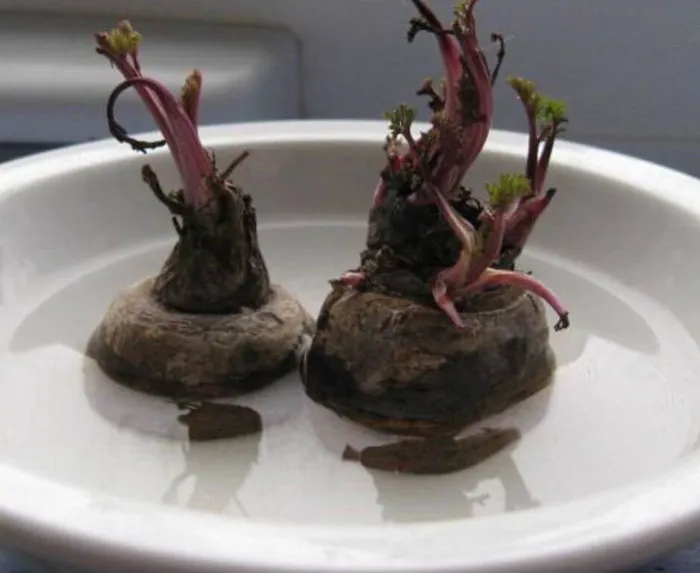
We placed this plant near beets and rutabagas because the way they grow is very similar. All 3 plants start out growing roots along with green leaves sprouting out from the top. Cut off the end with the stem and wait for roots to grow. Once this happens after a couple of weeks, transplant the turnip to a pot of soil and wait about 3 months for the plant to fully mature. Just like beets and rutabagas, turnips do a lot better in harsher weather conditions than most other vegetables.
Report
19points
